Target Marker for 3D Scans in Reverse Engineering!
In order to digitize products or their components, these are usually recorded with a 3D scanner. There are different types of scanning methods for this. A distinction is made between the following devices and processes.
Scanner - Scanning method:
- CT Scanner - CT Scan
- White Light Scanner - White Light Scan
- Blue Light Scanner - Blue Light Scan
- Infrared Scanner - Infrared Scan
- Long range scanner - terrestrial scan
- Laser Scanner - Laser Scan
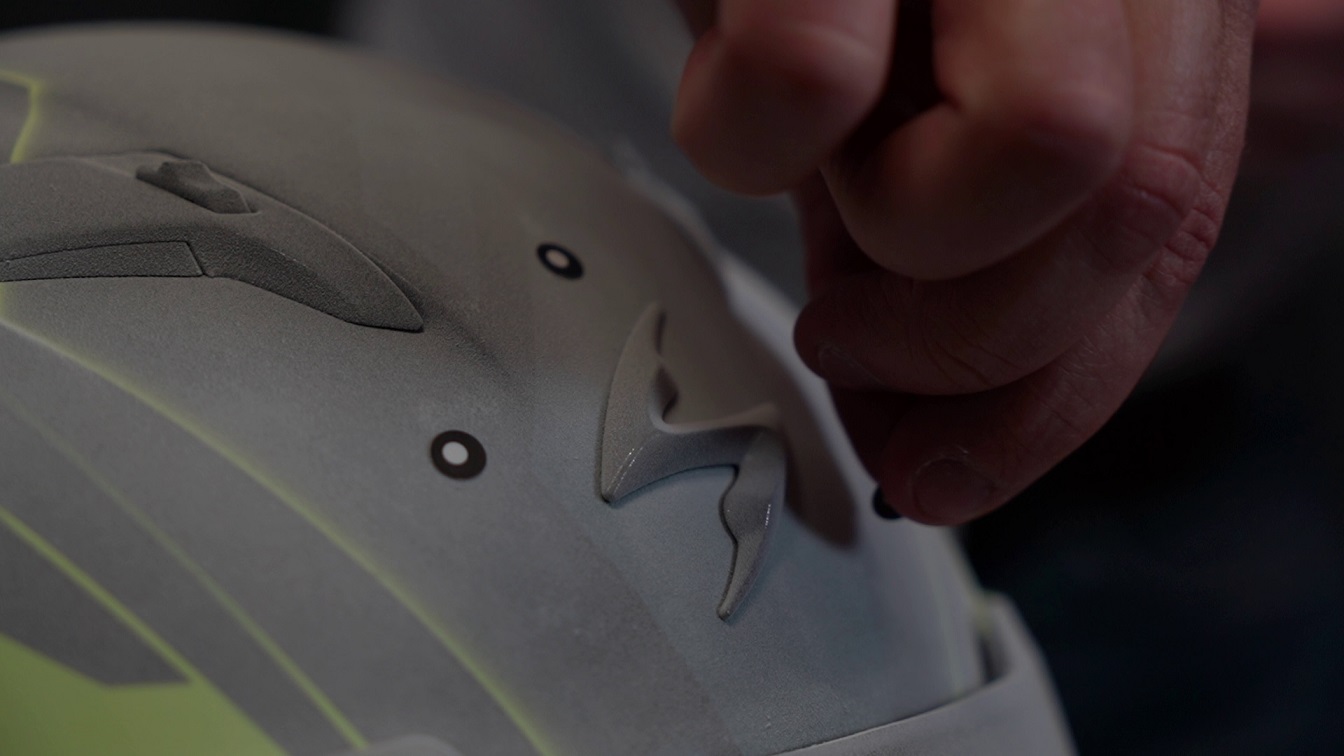
Due to their performance, one of the above-mentioned 3D scanner types is usually used for component measurement. However, there are often small hurdles to overcome when using these devices. In many cases, problems arise during the scanning process, for example when black, reflective or transparent surfaces are to be scanned. The same applies to symmetrical bodies such as cubes or funnels, as well as when detecting exceptionally small or large objects.
Therefore, Mako-Technics experts recommend using the “with markers” scanning mode. The scanning process runs more smoothly and the results are more reliable and 'clean'. The targets must be positioned asymmetrically on the object. The distance can vary slightly depending on the scanner, each device must then have 3 - 5 targets in the field of view at all times during the scanning process to record the component.
Important:
Adding markers during the scan is possible. However, removing or repositioning is not.
Example and Technical Background
To illustrate the basic necessity again, here is the following example:
When capturing a cube, the scanner cannot automatically determine which side of the cube is being scanned. The attachment of target marker ensures that the individual pages are clearly identified during orientation. In this way, the device recognizes which sides of the cube have already been recorded and which have not. By attaching target marks asymmetrically, each side of the cube is clearly identifiable for the scanner, similar to a dice with the numbers 1 to 6.
Technical background:
3D scans consist of points for which a position on the X, Y and Z axes is determined in the coordinate system. Each point in the data set consists of a simple combination of 3 digits, for example 125;256;350. This now determines the exact position of this point from X, Y and Z. Using this method, points are recorded and stored at very small intervals. This all happens with modern scanners at an enormous speed.
Target Marker Stickers
As previously mentioned, capturing difficult surfaces and geometries presents 3D scanners with a number of problems that need to be solved. Target stickers are in many cases the simplest solution. The most common variants are between 3 and 6 millimeters in size, but of course the point diameter to be used depends on the measurement volume. For each scanner there are target marks stickers specially created by the manufacturer. You should definitely order this when ordering the scanner for the first test scans. It is also advisable to use "Scanner Marken"'s own self-adhesive target marks for possible device tests or to arrange this with the manufacturer's hotline.
In addition to the diameter, target mark stickers also differ in the different reflection of the material. To this end, long series of tests have been carried out by the scanner manufacturers. The scanning speed itself is largely determined by the quality of the target marks. A target mark that is not identified or identified only slowly always harbors the risk of inaccuracies, but in any case hinders the quick and clean detection of the components.
Another difference is the adhesive adhesion. If markers only need to stay on the desired object for a short time and need to be removed quickly, we recommend using markers with a low adhesive content.
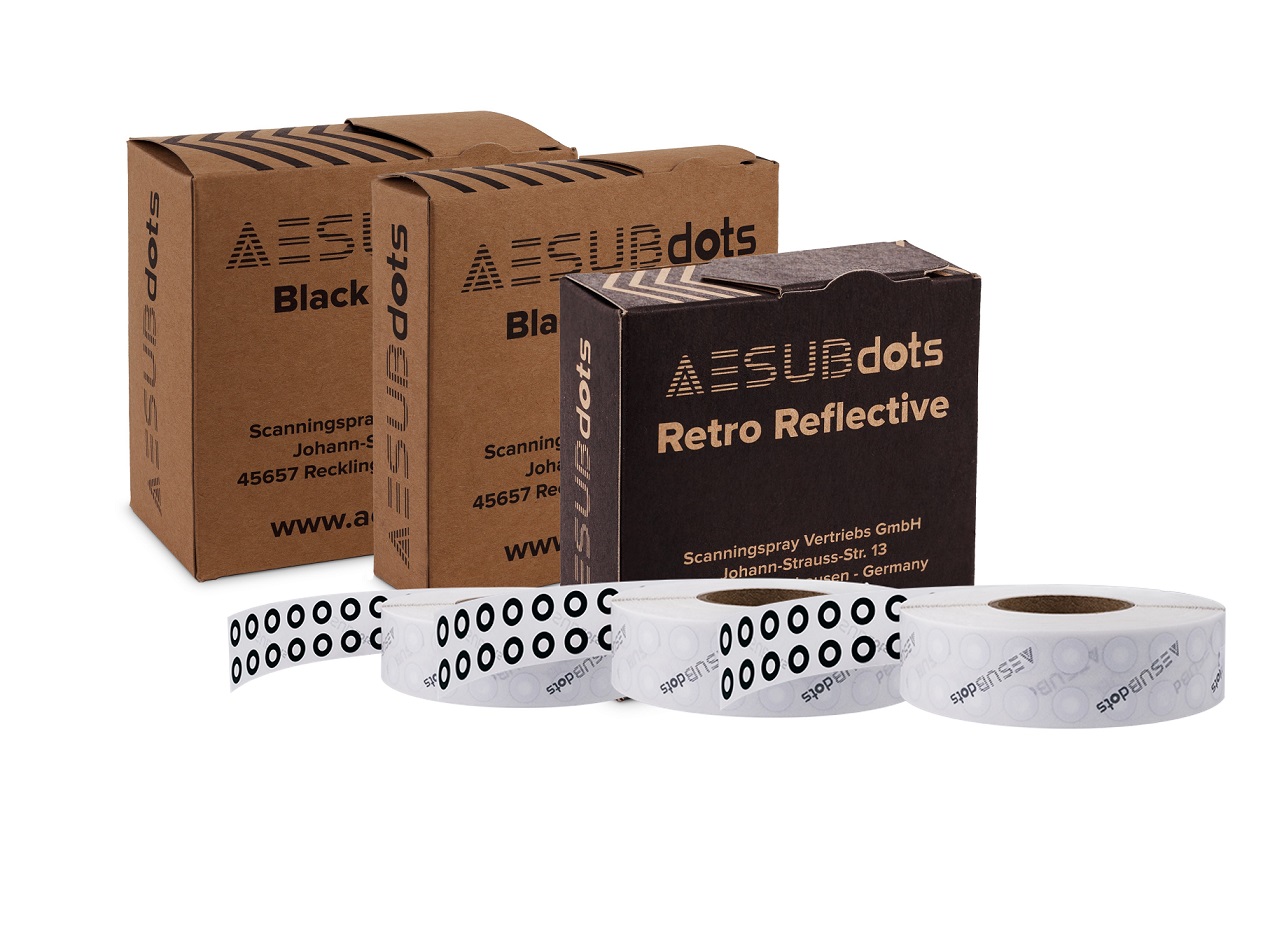
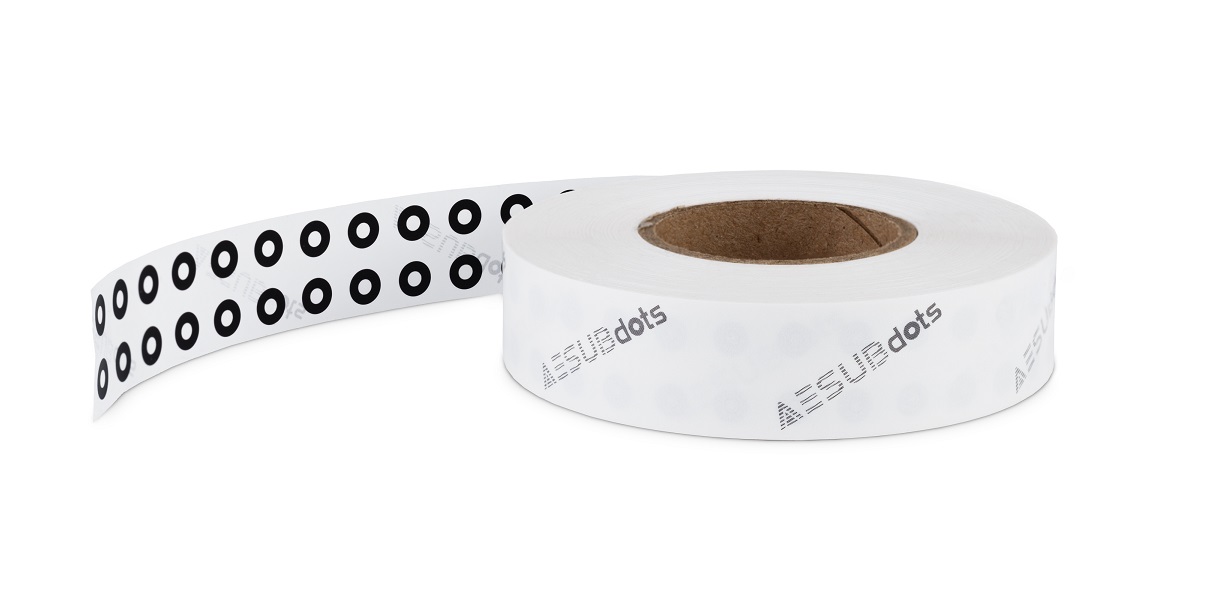
The attachment of the target marks is a considerable expenditure of time and effort. Target stickers on a roll have proven to be particularly practical for fast work.
Target Markers for Long-range Scanning
These target markers with a larger diameter are not available as self-adhesive ready-made targets. The various manufacturers have their own forms here, which are made available as PDF downloads on the manufacturers' websites.
Printing the PDF version onto an A4 sheet and placing it on walls or other planes is a common way here.
The Different Types and Sizes
Targets are available in different types and sizes. The type of marker to be used depends on the scanner in question:
Come here
- White light scanner for the white light scan,
- Blue light scanner for blue light scan or
- Infrared scanner for infrared scan
It is already sufficient to use classic white reference points or target marks for the 3D scan with structured light.
On the other hand, the size of the target used also plays a role. There are different sizes depending on the type of target. On the one hand, there are black and white target marks for the above-mentioned structured light scanners in the usual sizes.
- Ø 0,8 mm
- Ø 1,5 mm
- Ø 3,0 mm
- Ø 5,0 mm
- Ø 6,0 mm
- Ø 8,0 mm
- Ø 10 mm
- Ø 12 mm
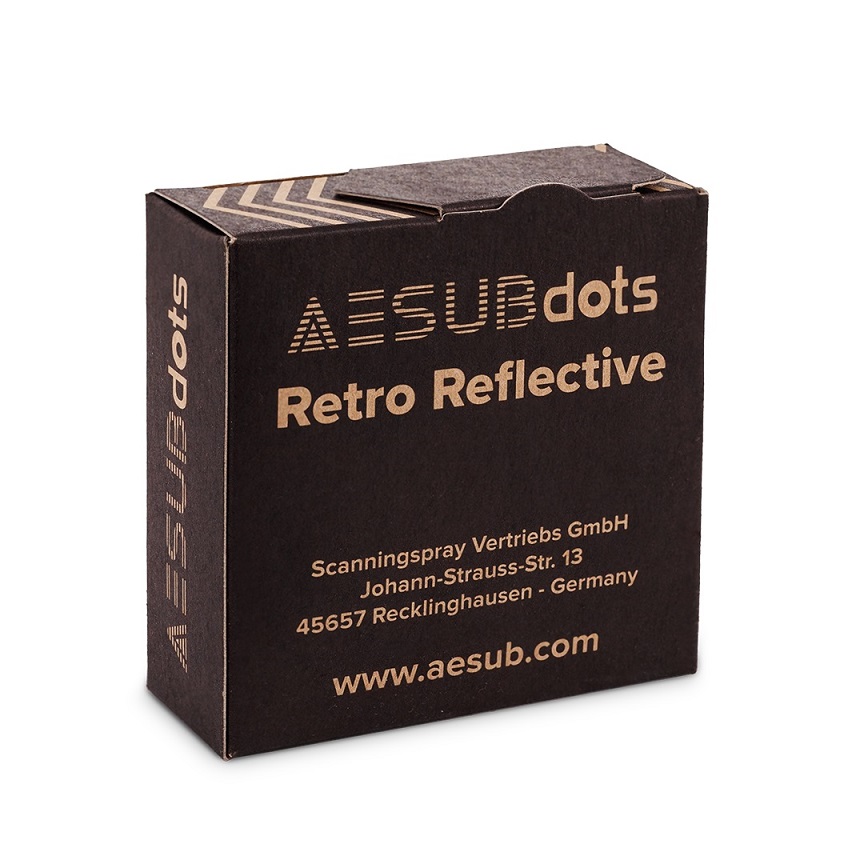
or, on the other hand, reflective targets for laser scanners in
- Ø 3,0 mm und
- Ø 6.0 mm.
Due to the physical requirements and technical necessities, other attachment methods have become established in practice, which we will discuss in more detail below.
Target markers with a magnetic base are particularly advantageous when the surface of the objects is magnetic and the targets need to be easy to attach and remove.
Shouldn't the markers be placed directly on the object to be scanned? Then there are variants for clamping or tricks with self-adhesive target marks on tables or turntables (see below - link). These help, for example, when objects must not be touched or brought into contact with adhesives. So let's recap the different types of targets:
- Adhesive
- Reflective
- Magnetic
- Clampable
Target Marker: Manufacturer
- Creaform
- Shining 3D
- Zeiss / GOM
- AESUB
Developer info why and how the dots are the way they are:
Tips and tricks for using target markers
Of course, there are a few things to keep in mind when using targets. A few little tricks can be helpful here. How can a scan be simplified? We give a few tips for this below.
The use of a commercially available turntable is practical and very simple. For components up to a size of approx. 300x300 mm, I can rotate my component and not only save myself having to move the scanner around my component, but also attaching and removing the markers from the component.
A special feature needs to be explained here: 3D scanners do not recognize any black surfaces. It is precisely this physical law that we use in our little work aid.
A commercially available turntable, the diameter of which is about twice as large as the components to be expected, is first painted black.
Then target marks are glued asymmetrically to the plate and its edge with the highest possible adhesive strength.
Our tool is ready, with which we often achieve 30% - 50% time savings when scanning small components.
An additional advantage is that the turntable can already be stored in the scanner with self-adhesive target marks. With Shining 3D scanners, this saves time and reduces the computing power required each time a new data set is created.
The new scan can then be started with the object on the turntable and the previously loaded marker file.
The advantages of this? On the one hand, the object can be rotated while the scanner can remain in its position. If necessary, the use of a tripod is also possible. On the other hand, the target marks cannot damage the object and do not have to be re-attached or removed afterwards. This saves time and money, because the target stickers only have to be attached to the turntable once.
A commercially available black tabletop can also be used as an alternative to the turntable. This option is always recommended when objects with a low height that can only be captured lying flat need to be scanned quickly. You have the same advantages as with the turntable, that you only have to attach the self-adhesive target marks once. Here, too, this results in a considerable saving in time and money for the purchase of the target stickers.
Sticking a marker on a black magnetic base can also help.
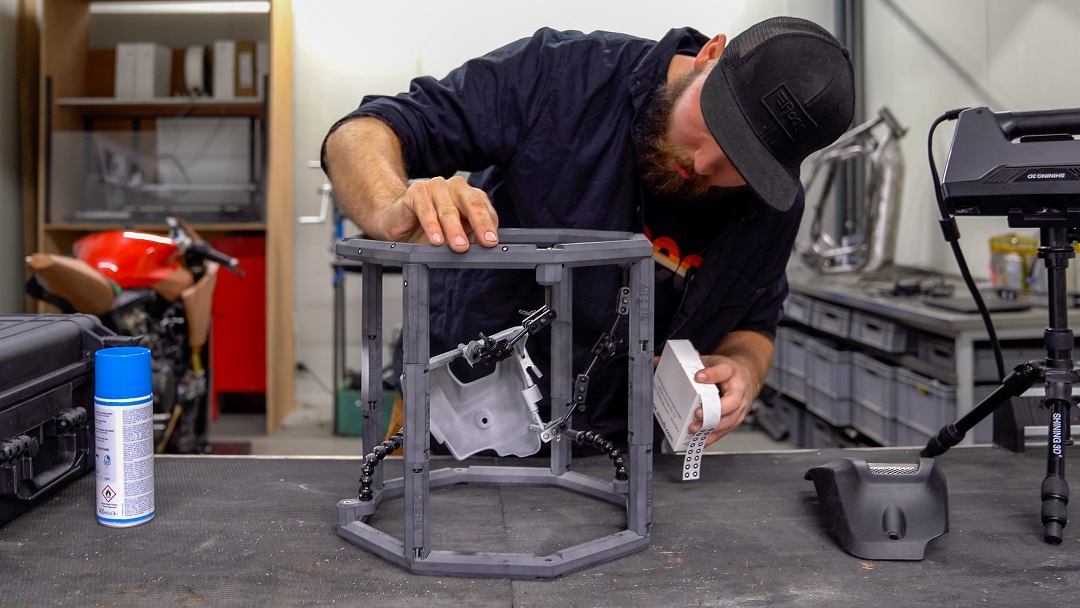
Another way to simplify the scan is to print pyramid-shaped plastic feet for the target marks. In this case, self-adhesive target marks are attached to all sides. These can then be positioned on objects or additionally next to them and help the scanner with orientation.
Positioning a marker under or next to an object on black plates saves sticking to the objects and prevents adhesive residue on the model. This can be an advantage when scanning exhibits in a museum, for example. The prerequisite here is, of course, that the objects allow such a process due to their size. Another alternative is to use a reference frame like the AESU frame.
AESUB Target Marker Universal for All Scanners
In addition to the high-quality OEM targets, there are also system-independent targets under the brand name AESUBdots. We wanted to know whether the comparatively inexpensive AESUBdots are compatible with the common scanning systems and can keep up with the OEM targets in terms of quality. Our tests were consistently positive, both in terms of compatibility and quality. So if you want to switch to cheaper targets, we can unreservedly recommend the targets from AESUB, the AESUBdots.
What should you watch out for with these tips and tricks?
When using turntables or table tops that have been painted and glued in advance, it is of course important to note the size of the measuring fields of the respective scanner. Attention should also be paid to the distances to the object and the underground. A scan can only be carried out successfully and with high quality if these points are observed.
In principle, there are certainly other options here, depending on the application. Nevertheless, we hope that we were able to give you some ideas that will make your daily work easier. Do you have further information on this or even your own tips and tricks that we haven't listed here yet? Would you like to share them with us or exchange ideas with us? Then feel free to contact us! The Mako-Technics team looks forward to your message.
